Getting Started
Install
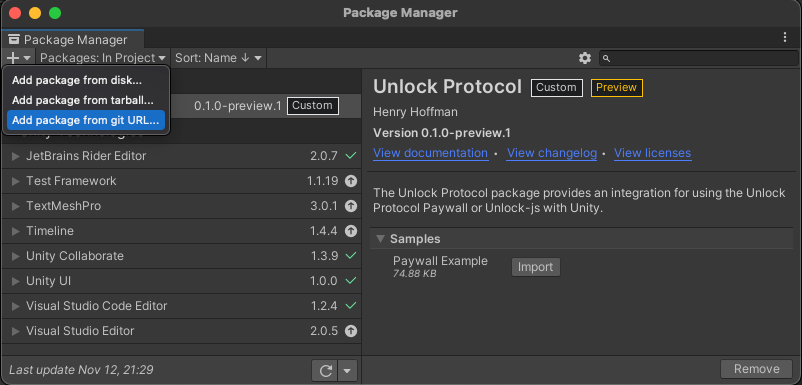
- In Unity, open the Package Manager by opening
Window/Package Manager - Then click on the + button on the upper-left-hand corner of the Package Manager, select "Add package from git URL..." on the context menu, then paste the following:
https://github.com/thehen/unlock-unity-package.git?path=/Unlock%20Unity%20Package
- Now setup Unlock Protocol by selecting
Unlock Protocol/Setup Unlock Protocol.

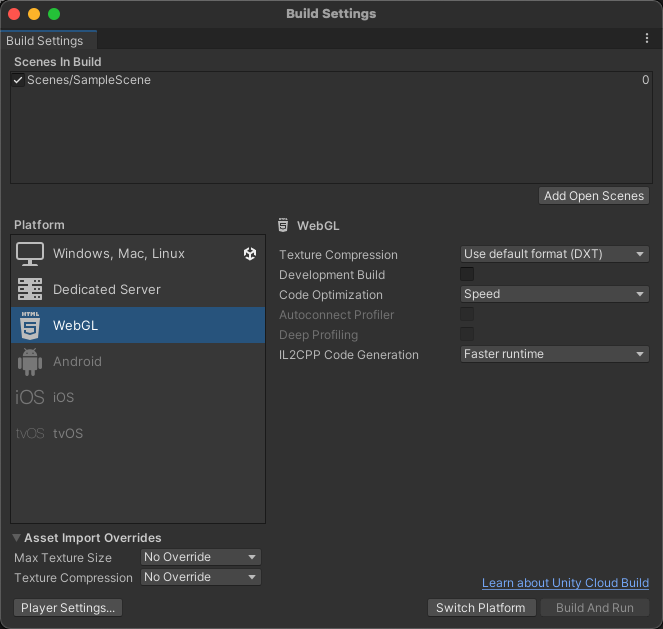
- Set your build platform by opening
File/Build Settingsand under Platform, selecting WebGL.
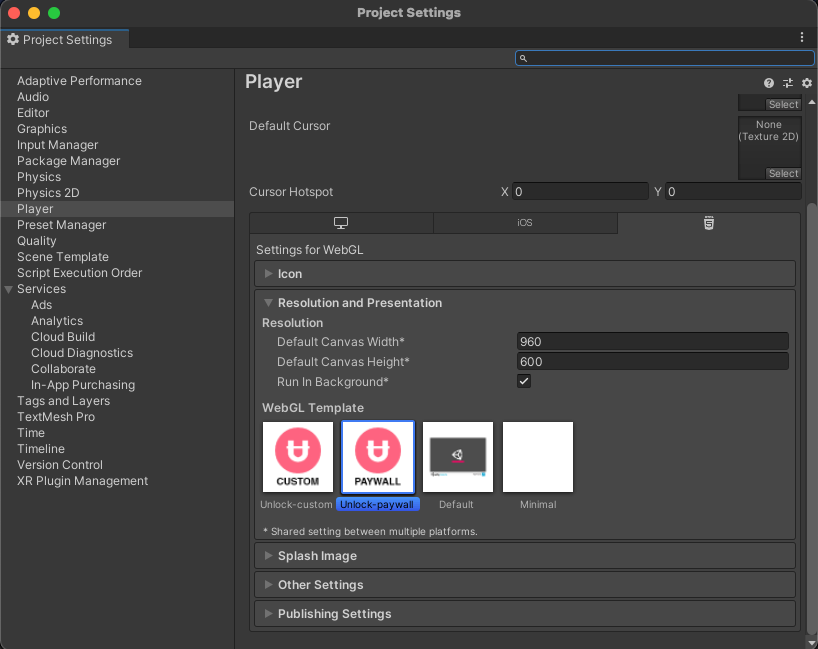
- Finally, open up
Edit/Project Settings/Playerand under theResolution and Presentationdropdown, select theUnlock-paywallWebGL Template.
Adding the Paywall to a new Scene
1.) Create a new Unity scene and open it up.
2.) Create a Lock config file by selecting Assets/Create/Unlock/Lock Config
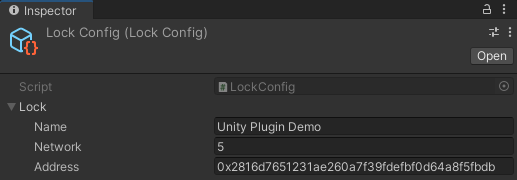
3.) Select the Lock config file and fill in the lock details as follows.
Name: Unity Plugin Demo
Network: 5
Address 0x2816d7651231ae260a7f39fdefbf0d64a8f5fbdb
4.) Create a Paywall config file by selecting Assets/Create/Unlock/Paywall Config.
5.) Select the Paywall config file and add your Lock config file to the Lock Configs:

6.) Add a UI Canvas and a Button by selecting GameObject/UI/Legacy/Button.
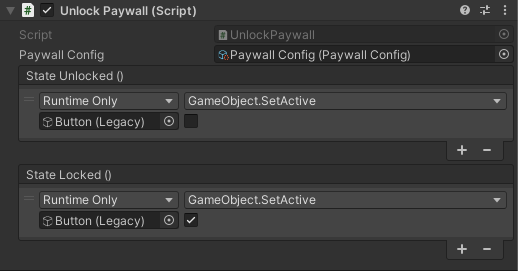
7.) We now need to create the Unlock Paywall Manager. Create a new GameObject by selecting GameObject/Create Empty and add an UnlockPaywall component to it and set the parameters to match the following:
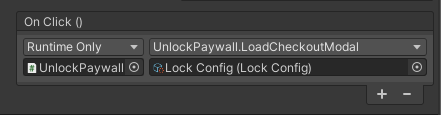
8.) Select the button you added before, and set the OnClick event to the following:
9.) Select File/Build Settings, ensure your build target is WebGL, and press Build and Run to test the scene.
You should be presented with an empty scene and a button. Upon pressing the button, the payment flow will begin. After succesful payment, the button should then disappear.